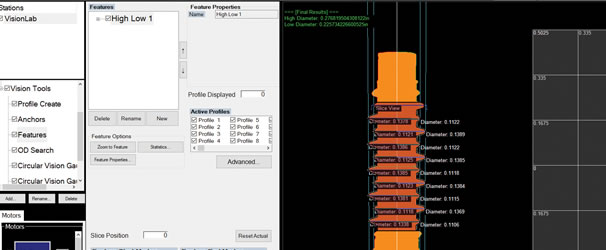
Non-contact gauging system to measure high/low threads
General Inspection has added a new high/low thread measuring algorithm to its VisionLab 3D fastener gauging system.
VisionLab's thread measurement capabilities include all pertinent system-22 requirements, lobular shaped threads, and now a specific algorithm for high/low threads.
Greg Nygaard, General Inspection VP sales and marketing, said, "By popular demand, we've added a tool to our VisionLab system to make measuring high/low threads as simple as a press of a button." VisionLab allows manufacturers and distributors to measure all critical part features in less than five seconds.
In addition to threads, VisionLab measures all profile features, including GD&T characteristics. An optional "end view" inspection measures and detects defects on both ends of parts, including features such as recesses, inner/outer diameters, through holes and counterbores. Surface control — also optional — is used to detect visual defects, such as bad plating and thread patch presence/quality, as well as measuring knurl width, gap and height.
Optional slewing optics automatically tilt for an enhanced view into the radius of the threads to measure root radii and pitch diameter. An upper tooling and bit kit are available as options for uneven parts or parts with a recess drive.
For time savings, traceability and removing error, VisionLab creates thorough customised reports with graphs and data charts, which can also be uploaded to third party SPC packages.


